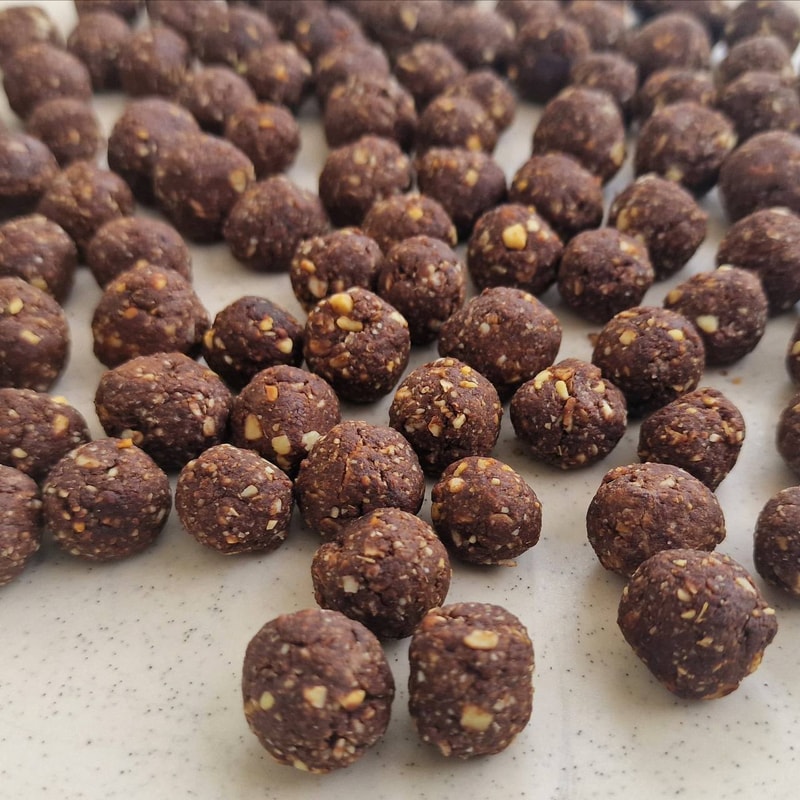
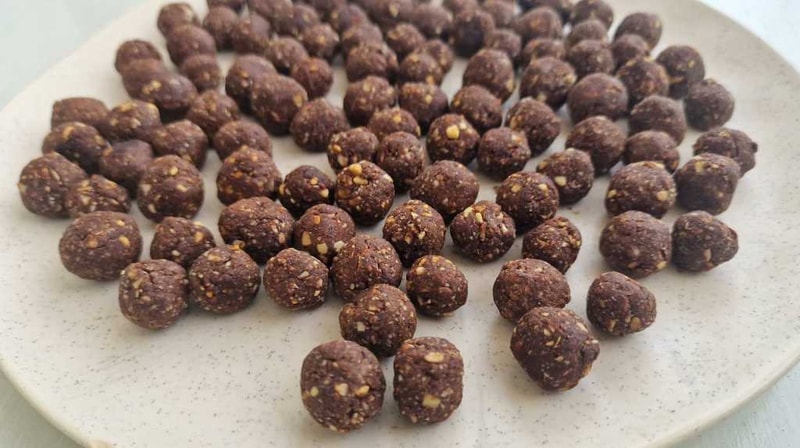
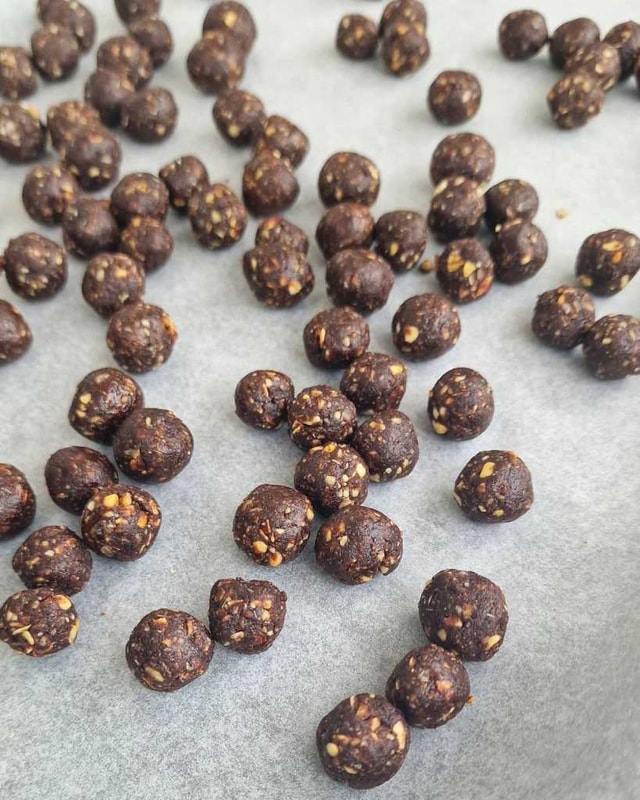
Homemade Chocolate Cereal Balls
These homemade chocolate cereal balls make for a healthy and satisfying snack! They are packed with whole grain goodness, and provide some protein, and healthy fats with a touch of sweetness. Better than store-bought Nesquick!
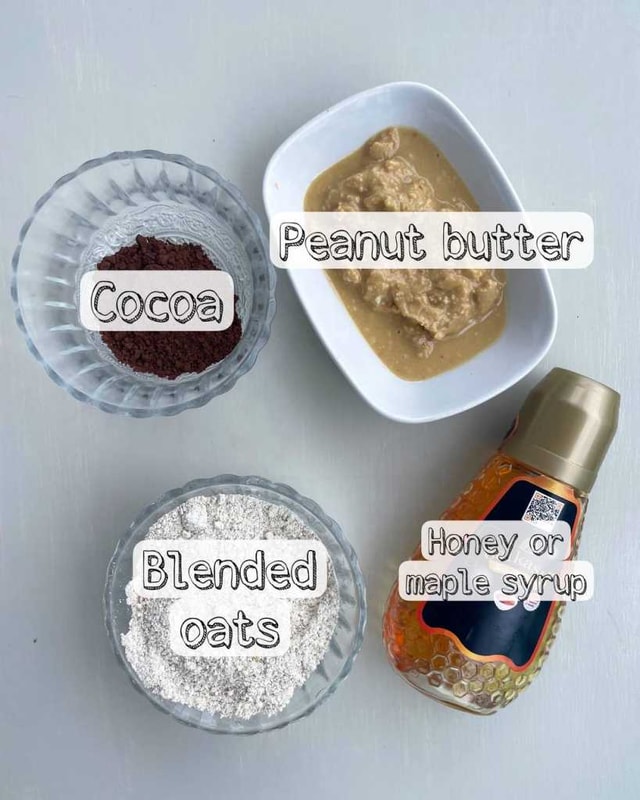
Ingredients
- 2/3 cup cup oat flour
- 3 tbsp honey or maple syrup
- 3 tbsp plain peanut butter
- 1 tbsp cocoa powder
- 20-30 ml water or coconut milk
Instructions
Preheat the oven to 320 °F (160 °C).
In a mixing bowl, combine the oat flour, honey or maple syrup, butter, and cocoa powder. Stir well until all the ingredients are thoroughly combined and form a sticky dough. Add some water or milk if the dough doesn't form well (about 30ml).
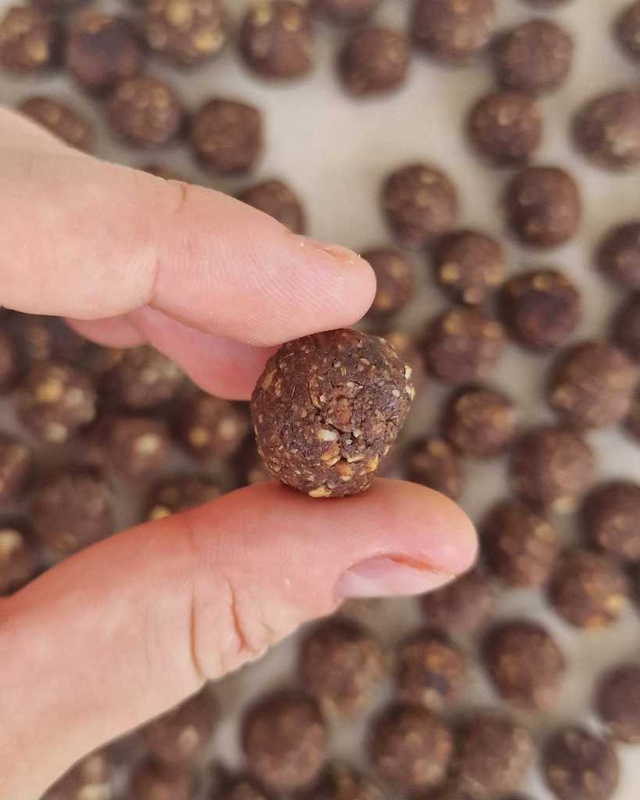
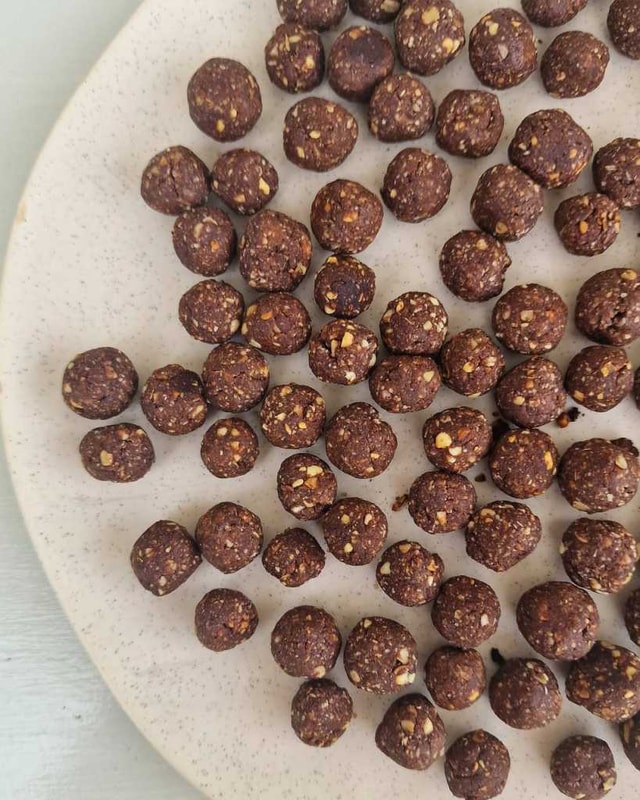
Take small portions of the dough and roll them into 1-inch balls using your hands. Place the balls on the prepared baking sheet, leaving some space between each.
Bake the chocolate cereal balls in the preheated oven for about 10-12 minutes, or until they are firm and slightly golden.
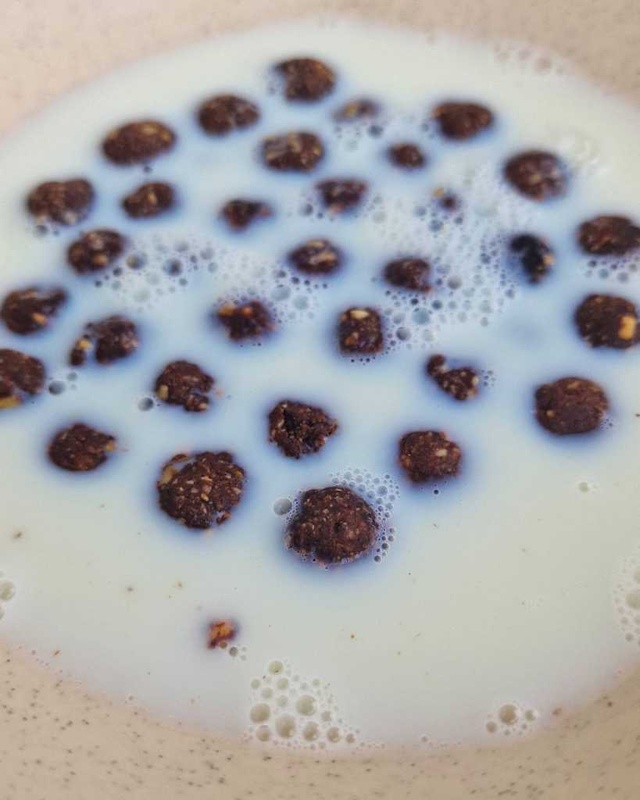
Remove the baking sheet from the oven and let the cereal balls cool completely on a wire rack. Once cooled, the baked chocolate cereal balls are ready to be served. Add some milk and enjoy!
Chef's Tips & Notes
Recipe Details
Recipe Tags
These homemade chocolate cereal balls make for a healthy and satisfying snack! They are packed with whole grain goodness, and provide some protein, and healthy fats with a touch of sweetness. Better than store-bought Nesquick!
What are the ingredients of choco cereal balls?
Here are the ingredients for the These homemade chocolate cereal balls recipe:
- Blended Oats or oat flour: Oat flour is made by grinding oats into a fine powder. It provides a nutritious and gluten-free base for the cereal balls, adding fiber, vitamins, and minerals to the recipe.
- Maple syrup or honey: Maple syrup or honey are natural sweeteners. They add a touch of sweetness to the cereal balls. You can use other liquid sweeteners like agave syrup as alternatives.
- Peanut butter: Peanut butter adds creaminess and richness to the cereal balls. It also helps bind the ingredients together. By the way, peanut butter contains many nutrients that can improve heart health, including monounsaturated fatty acids (MUFAs), polyunsaturated fatty acids (PUFAs), magnesium and vitamin E.
- Cocoa powder: Cocoa powder or cacao powder provides the chocolate flavor to the cereal balls. It adds a rich, deep chocolatey taste without the added sugars or fats found in chocolate bars. Cocoa powder also contains polyphenols, antioxidants that help to improve cholesterol and blood sugar levels and reduce the risk of heart disease.
These ingredients work together to create a delicious and healthier alternative to store-bought chocolate cereal balls!
Are Choco Balls healthy?
The homemade chocolate cereal balls recipe can be considered a healthier alternative to store-bought chocolate treats. Here are some reasons why they can be considered a healthier choice:
- Whole Grain Base: The recipe calls for oat flour, which is made from ground oats. Oats are a good source of fiber and contain beneficial nutrients like vitamins, minerals, and antioxidants. Choosing whole grains like oat flour provides more nutrients and fiber compared to refined grains.
- Natural Sweetener: The recipe uses maple syrup or another liquid sweetener as a natural sweetening agent. Compared to refined sugars, maple syrup contains some minerals and antioxidants. However, it is still important to consume sweeteners in moderation as part of a balanced diet.
- Peanut Butter: The addition of peanut butter provides healthy fats, protein, and essential nutrients. Peanut butter offers monounsaturated fats, vitamins, minerals, and protein. These fats are considered heart-healthy and can contribute to satiety.
- Cocoa Powder: Cocoa powder is rich in antioxidants and provides a chocolate flavor without the added sugars or fats found in chocolate bars. It can offer potential health benefits, including improved heart health and mood enhancement.
While these homemade chocolate cereal balls can be a healthier choice compared to many processed chocolate treats, it’s important to consume them in moderation as part of a balanced diet. Keep in mind that portion control is key, and the overall nutritional content will depend on the specific brands and ingredients used.
What are the steps to making cereal balls?
In a mixing bowl, combine the oat flour, nut butter, honey or maple syrup, and unsweetened cocoa powder. Stir well until the ingredients are evenly combined. Take small portions of the dough and roll them into 1-inch balls using your hands. Place the balls on the prepared baking sheet, leaving some space between each.
 Bake the chocolate cereal balls in the preheated to 320 °F (160 ° C) oven for about 10–12 minutes, or until they are firm and slightly golden.
 Remove the baking sheet from the oven and let the cereal balls cool completely on a wire rack. Once cooled, the baked homemade chocolate cereal balls are ready to be served. Add some milk, and enjoy!
How to store homemade cereal balls?
To properly store homemade chocolate cereal balls, follow these steps:
- Allow the cereal balls to cool completely before storing them. This helps maintain their texture and prevent condensation.
- Transfer the cooled cereal balls to an airtight container. Use a container that is large enough to accommodate the balls without squishing or breaking them.
- Place a layer of parchment paper or wax paper between each layer of cereal balls to prevent them from sticking together.
- Seal the container tightly to create an airtight seal, which helps retain freshness and prevent moisture absorption.
- Store the cereal balls in a cool, dry place, such as a pantry or cupboard. Avoid storing them in areas exposed to heat or direct sunlight, as this can cause them to become stale or lose their texture.
- If the weather or temperature is particularly warm, it may be preferable to store the cereal balls in the refrigerator to maintain their freshness and prevent them from becoming too soft.
- Check the stored cereal balls periodically for any signs of spoilage, such as mold or an off smell. If you notice any issues, discard them immediately.
By following these storage guidelines, your homemade chocolate cereal balls should stay fresh for up to a week, depending on the specific recipe and ingredients used. Enjoy your homemade cereal balls as a delicious and convenient snack whenever you desire! If you like healthy breakfast ideas, check out these recipes:
A Note from Chef Ana
This Homemade Chocolate Cereal Balls is a breakfast favorite among my clients in The Woodlands and throughout the Houston area. My philosophy has always been about elevating classic American comfort food with proper technique and the freshest local Texas ingredients. I source as much as I can from local farms and markets in the Houston area, because fresh, seasonal produce always makes a noticeable difference.
Whether you are hosting a dinner party, planning a celebration, or simply want a wholesome meal for your family, I would love to bring this recipe — and many more — to your table. Feel free to reach out to learn more about my personal and private chef services in The Woodlands, Spring, Tomball, Conroe, and the greater Houston area.
Substitutions & Variations
As a personal chef who specializes in dietary accommodations, I always encourage my clients to adapt recipes to their individual needs. Here are some practical variations for this recipe:
- Gluten-Free: This recipe already uses oat flour, which is naturally gluten-free. Just make sure to use certified gluten-free oats to avoid any cross-contamination from processing.
- Dairy-Free: This recipe is already completely dairy-free — it uses peanut butter, coconut milk, and coconut oil with no butter, milk, or yogurt.
- Nut-Free: Replace the peanut butter with sunflower seed butter (SunButter) or tahini. Both provide the same binding and creaminess without any tree nuts or peanuts.
- Vegan-Friendly: Swap honey for pure maple syrup in equal amounts. The rest of the recipe is already plant-based.
Frequently Asked Questions
Can I make these cereal balls without an oven?
Yes! You can make a no-bake version by slightly increasing the peanut butter to 4 tablespoons so the dough holds together better. Roll the balls and refrigerate them for at least 30 minutes until firm. They will have a softer, chewier texture than the baked version, but are equally delicious.
Can I use a different nut butter instead of peanut butter?
Absolutely! Almond butter, cashew butter, or sunflower seed butter (SunButter) all work well. Each gives a slightly different flavor — almond butter is milder, cashew butter is creamier, and SunButter is a great nut-free alternative. Use the same amount the recipe calls for.
How long do homemade chocolate cereal balls stay fresh?
Stored in an airtight container at room temperature, they keep for about one week. In the refrigerator, they can last up to two weeks. For longer storage, freeze them in a single layer on a baking sheet, then transfer to a freezer bag for up to 2 months. There is no need to thaw — they taste great straight from the freezer.
You Might Also Like
Love This Recipe?
Discover more delicious recipes and consider our personal chef services for fresh, healthy meals prepared in your home.