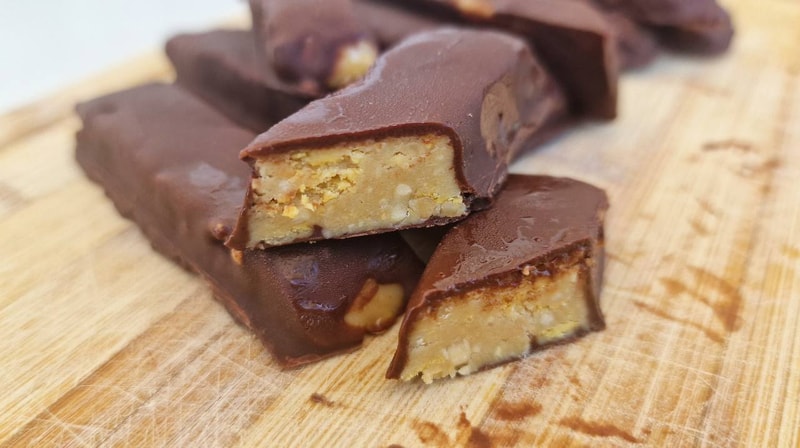
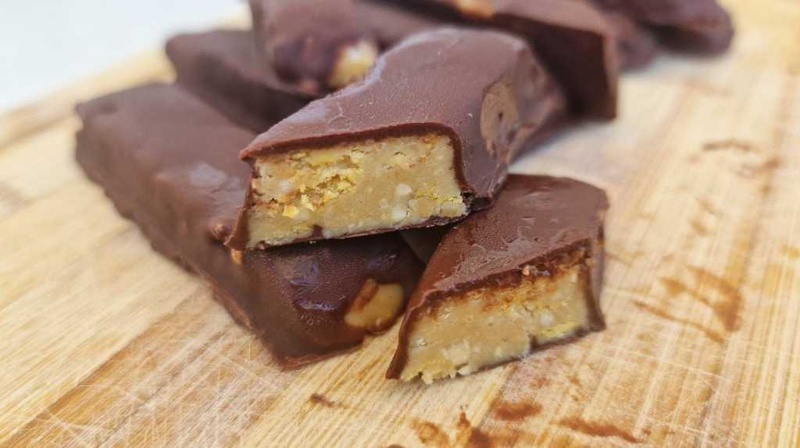
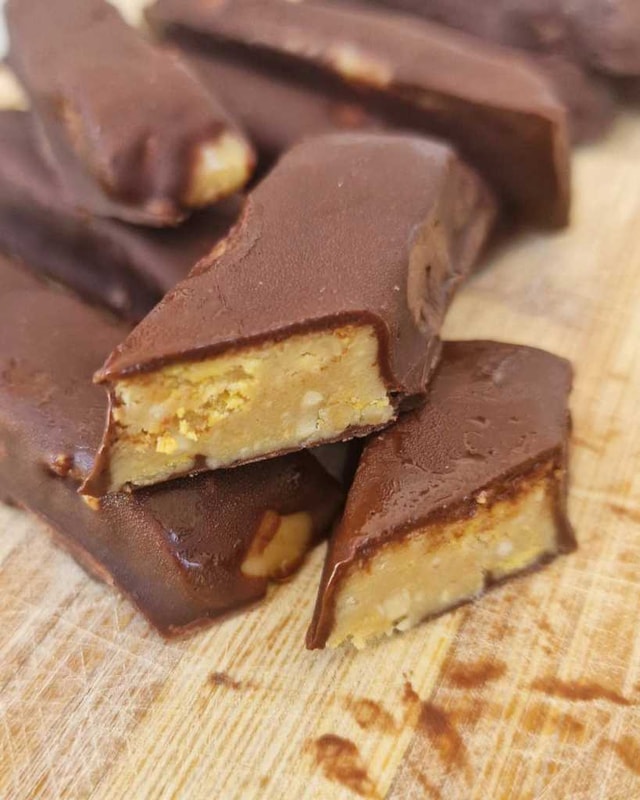
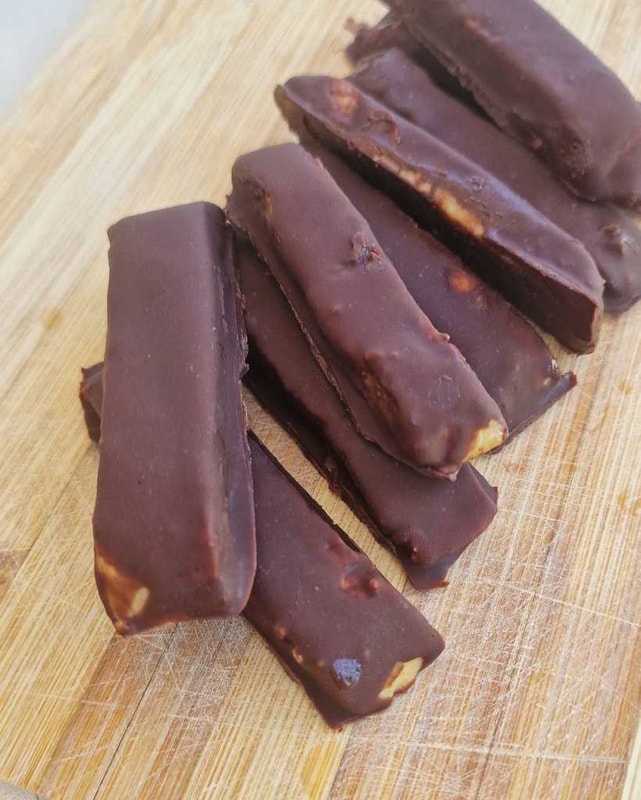
Healthier Homemade Butterfingers
These Healthier Homemade Butterfingers offer a more nutritious option, with natural peanut butter, honey or maple syrup, and dark chocolate.
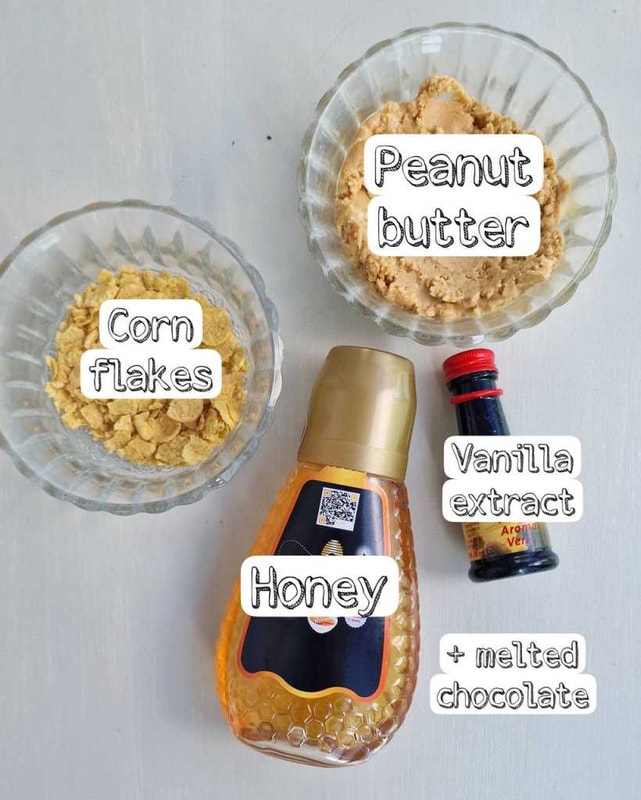
Ingredients
- 1/2 cup natural peanut butter (without added sugar or hydrogenated oils)
- 2 tbsp honey or pure maple syrup
- 1 tsp pure vanilla extract
- A pinch of salt
- 1/4 cup crushed cornflakes
- 1/2 cup dark or semi-sweet chocolate chips (choose chocolate with higher cocoa content and less added sugar)
Instructions
In a microwave-safe bowl, combine the natural peanut butter, honey or pure maple syrup, pure vanilla extract, and a pinch of salt. Microwave the mixture for 30 seconds to soften the peanut butter and make it easier to mix. Stir the mixture until everything is well combined and forms a smooth, slightly thick peanut butter filling.
Mix in the crushed cornflakes into the peanut butter mixture.
Line a square baking pan or a similar-sized container with parchment paper. Transfer the peanut butter mixture to the pan, pressing it down with a spatula to create an even layer. Place the pan in the refrigerator for about 30 minutes or until the peanut butter mixture is firm.
Melt the dark or semi-sweet chocolate chips in a microwave-safe bowl. Microwave in 30-second intervals, stirring in between, until the chocolate is completely melted and smooth.
Cut the chilled peanut butter filling into small bars or bite-sized pieces. Using a fork or toothpick, dip each peanut butter piece into the melted chocolate, ensuring it is fully coated. Allow any excess chocolate to drip back into the bowl. Place the chocolate-coated pieces on a parchment-lined tray or plate. Let the chocolate set by placing the tray in the refrigerator for about 15-30 minutes. Your homemade healthier Butterfingers are now ready to be enjoyed!
Chef's Tips & Notes
Recipe Details
Recipe Tags
These Healthier Homemade Butterfingers offer a more nutritious option, with natural peanut butter, honey or maple syrup, and dark chocolate. They still deliver that classic Butterfingers taste and texture but with fewer processed ingredients and more wholesome goodness.
Are there corn flakes in Butterfingers?
Yes, we add cornflake as a crunchy element. Here’s a description of each ingredient used in the recipe for healthier homemade Butterfingers:
- Natural peanut butter: Natural peanut butter is made from only peanuts and possibly a small amount of salt. It does not contain added sugar or hydrogenated oils, making it a healthier option compared to regular peanut butter. The creamy and nutty flavor of natural peanut butter is the foundation of the filling for these homemade Butterfingers. Moreover, the healthy fats in peanut butter are called monounsaturated and polyunsaturated fatty acids. These fats are associated with a lower risk of weight gain and obesity when consumed as part of a healthy diet.
- Honey or pure maple syrup: Honey or pure maple syrup serves as the natural sweetener in the recipe. Both options add a delightful sweetness to the peanut butter filling without the need for refined sugars.
- Pure vanilla extract: Pure vanilla extract enhances the flavor of the peanut butter filling, giving it a warm and aromatic note.
- Salt: A pinch of salt balances the sweetness and brings out the natural flavors of the other ingredients.
- Crushed cornflakes: Add crushed cornflakes to the peanut butter mixture to provide an extra crunch and texture to the filling.
- Dark or semi-sweet chocolate chips: Dark or semi-sweet chocolate chips are used for the chocolate coating. Choosing chocolate with higher cocoa content and less added sugar makes the treat healthier. Dark chocolate also provides antioxidants and has less sugar compared to milk chocolate.
These homemade treats are perfect for those who want to indulge in a more nutritious candy option without compromising on taste!
How to make Butterfingers at home?
In a microwave-safe bowl, combine the natural peanut butter, honey or pure maple syrup, pure vanilla extract, and a pinch of salt. Microwave the mixture for 30 seconds to soften the peanut butter and make it easier to blend. Stir until everything is thoroughly mixed, creating a smooth and slightly thick peanut butter filling. Mix in the crushed cornflakes into the peanut butter mixture for added crunch and texture.
Line a square baking pan or a similar-sized container with parchment paper. Transfer the peanut butter mixture to the pan, using a spatula to create an even layer.
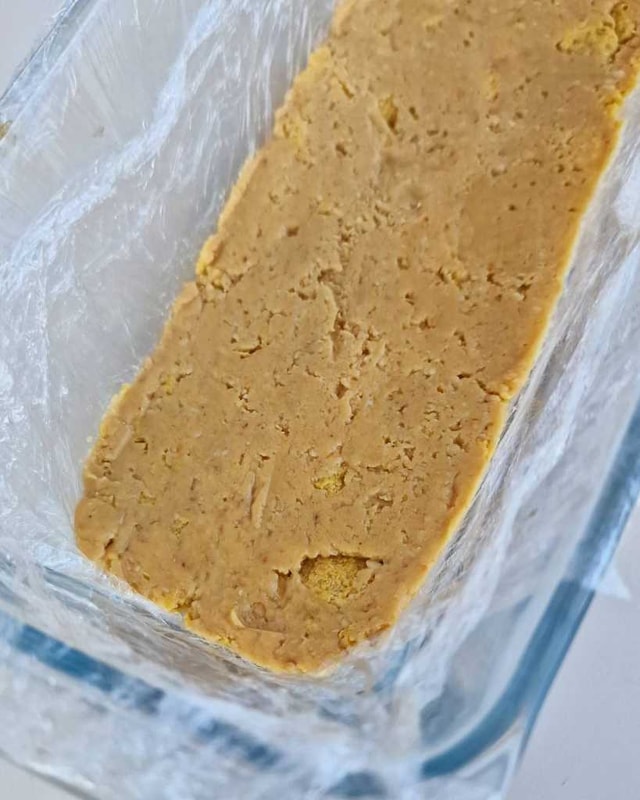 Refrigerate the pan for approximately 30 minutes until the peanut butter filling becomes firm.
In a separate microwave-safe bowl, melt the dark or semi-sweet chocolate chips in 30-second intervals, stirring in between until the chocolate is completely melted and smooth. Once the peanut butter filling is chilled and firm, cut it into small bars or bite-sized pieces. Using a fork or toothpick, dip each piece into the melted chocolate, ensuring it is entirely coated. Allow any excess chocolate to drip back into the bowl. Place the chocolate-coated pieces on a parchment-lined tray or plate. To let the chocolate set, refrigerate the tray for about 15–30 minutes.
Your homemade healthier Butterfingers are now ready to be savored! Enjoy these delicious treats with the classic flavors and a more wholesome touch.
Refrigerate the pan for approximately 30 minutes until the peanut butter filling becomes firm.
In a separate microwave-safe bowl, melt the dark or semi-sweet chocolate chips in 30-second intervals, stirring in between until the chocolate is completely melted and smooth. Once the peanut butter filling is chilled and firm, cut it into small bars or bite-sized pieces. Using a fork or toothpick, dip each piece into the melted chocolate, ensuring it is entirely coated. Allow any excess chocolate to drip back into the bowl. Place the chocolate-coated pieces on a parchment-lined tray or plate. To let the chocolate set, refrigerate the tray for about 15–30 minutes.
Your homemade healthier Butterfingers are now ready to be savored! Enjoy these delicious treats with the classic flavors and a more wholesome touch.
How to store homemade butterfingers?
To ensure the freshness and longevity of your homemade Butterfingers, it’s essential to store them properly. Here’s how to do it:
- Allow them to cool: Before storing the homemade Butterfingers, make sure they have cooled down to room temperature. This helps prevent condensation inside the storage container, which could make them soggy.
- Use an airtight container: Transfer the cooled Butterfingers into an airtight container. Choose a container that fits the size of the bars or pieces, leaving as little empty space as possible. This helps reduce exposure to air and moisture, keeping the candy fresh for a more extended period.
- Layer with parchment paper (optional): If you have multiple layers of Butterfingers, you can place a sheet of parchment paper between each layer. This prevents them from sticking together and maintains their shape and texture.
- Refrigerate or store at room temperature: The storage method depends on your preference and the temperature of your environment. If you live in a hot and humid climate or if the kitchen temperature is warmer, it’s best to store the Butterfingers in the refrigerator. Otherwise, if you are in a cooler and dry environment, you can store them at room temperature.
- Avoid odors: Make sure the container is free from strong odors or flavors that could be absorbed by the Butterfingers, affecting their taste.
- Best consumed within: Homemade Butterfingers are best consumed within 1-2 weeks for optimal taste and texture. Over time, the texture may become softer, but they will still be safe to eat beyond that period.
By following these storage tips, you can enjoy your homemade Butterfingers at their best and relish the delightful combination of peanut butter, sweetness, and chocolate anytime you crave a tasty treat! If you like healthy desserts, check out these recipes:
- Chocolate-Coated Strawberry Coconut Balls
- Simple 3-Ingredient Brownies
- Snickers Stuffed Dates
- Healthy Peanut Butter Twix Bars
A Note from Chef Ana
This Healthier Homemade Butterfingers holds a special place in my heart — and on the dessert menus I create for my private clients here in The Woodlands and the greater Houston area. My philosophy has always been about elevating classic American comfort food with proper technique and the freshest local Texas ingredients. I source as much as I can from local farms and markets in the Houston area, because fresh, seasonal produce always makes a noticeable difference.
Whether you are hosting a dinner party, planning a celebration, or simply want a wholesome meal for your family, I would love to bring this recipe — and many more — to your table. Feel free to reach out to learn more about my personal and private chef services in The Woodlands, Spring, Tomball, Conroe, and the greater Houston area.
Substitutions & Variations
As a personal chef who specializes in dietary accommodations, I always encourage my clients to adapt recipes to their individual needs. Here are some practical variations for this recipe:
- Gluten-Free: Use certified gluten-free cornflakes or crushed rice cereal instead of regular cornflakes. Check your chocolate chips too — most are naturally GF, but always verify the label.
- Dairy-Free: Use dairy-free dark chocolate chips (many dark chocolate brands are naturally dairy-free). The peanut butter filling already contains no dairy.
- Vegan-Friendly: Swap honey for pure maple syrup and use vegan dark chocolate chips. The rest of the recipe is already plant-based.
Frequently Asked Questions
How long do homemade Butterfingers last?
Store them in an airtight container in the refrigerator for up to 2 weeks. They can also be frozen for up to 2 months — place parchment between layers to prevent sticking. Let them sit at room temperature for 5 minutes before enjoying.
Why is my chocolate coating cracking?
If the peanut butter filling is too cold when dipped, the chocolate can crack as it sets. Let the chilled bars sit at room temperature for 2–3 minutes before dipping, and make sure your melted chocolate isn’t too hot either.
Can I use a different nut butter instead of peanut butter?
Yes! Almond butter, cashew butter, or sunflower seed butter all work beautifully. The texture and flavor will vary slightly, but the method stays exactly the same.
You Might Also Like
Love This Recipe?
Discover more delicious recipes and consider our personal chef services for fresh, healthy meals prepared in your home.